-40%
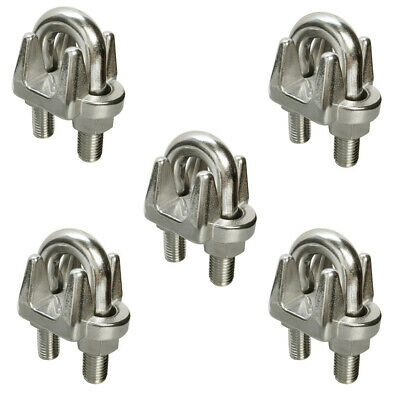
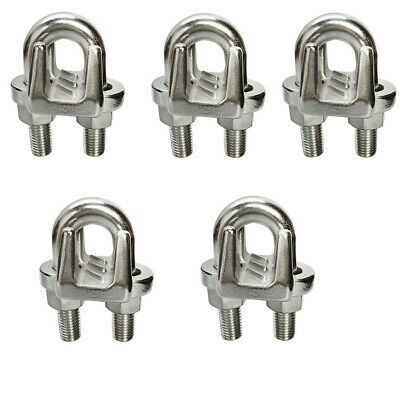
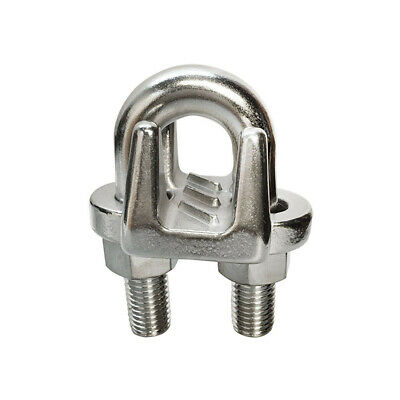
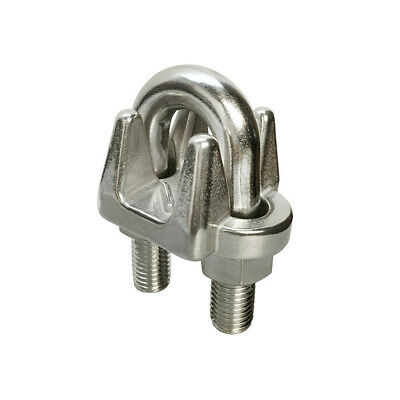
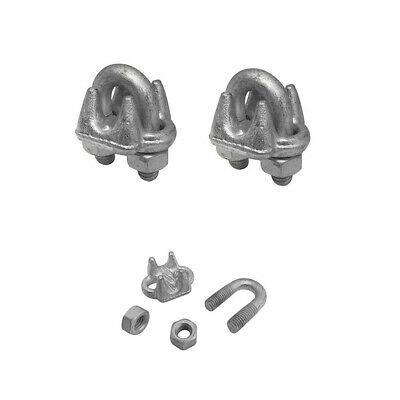
1 Each 5/8" Galvanized Wire Rope Clip Cable Clamp
$ 3.15
- Description
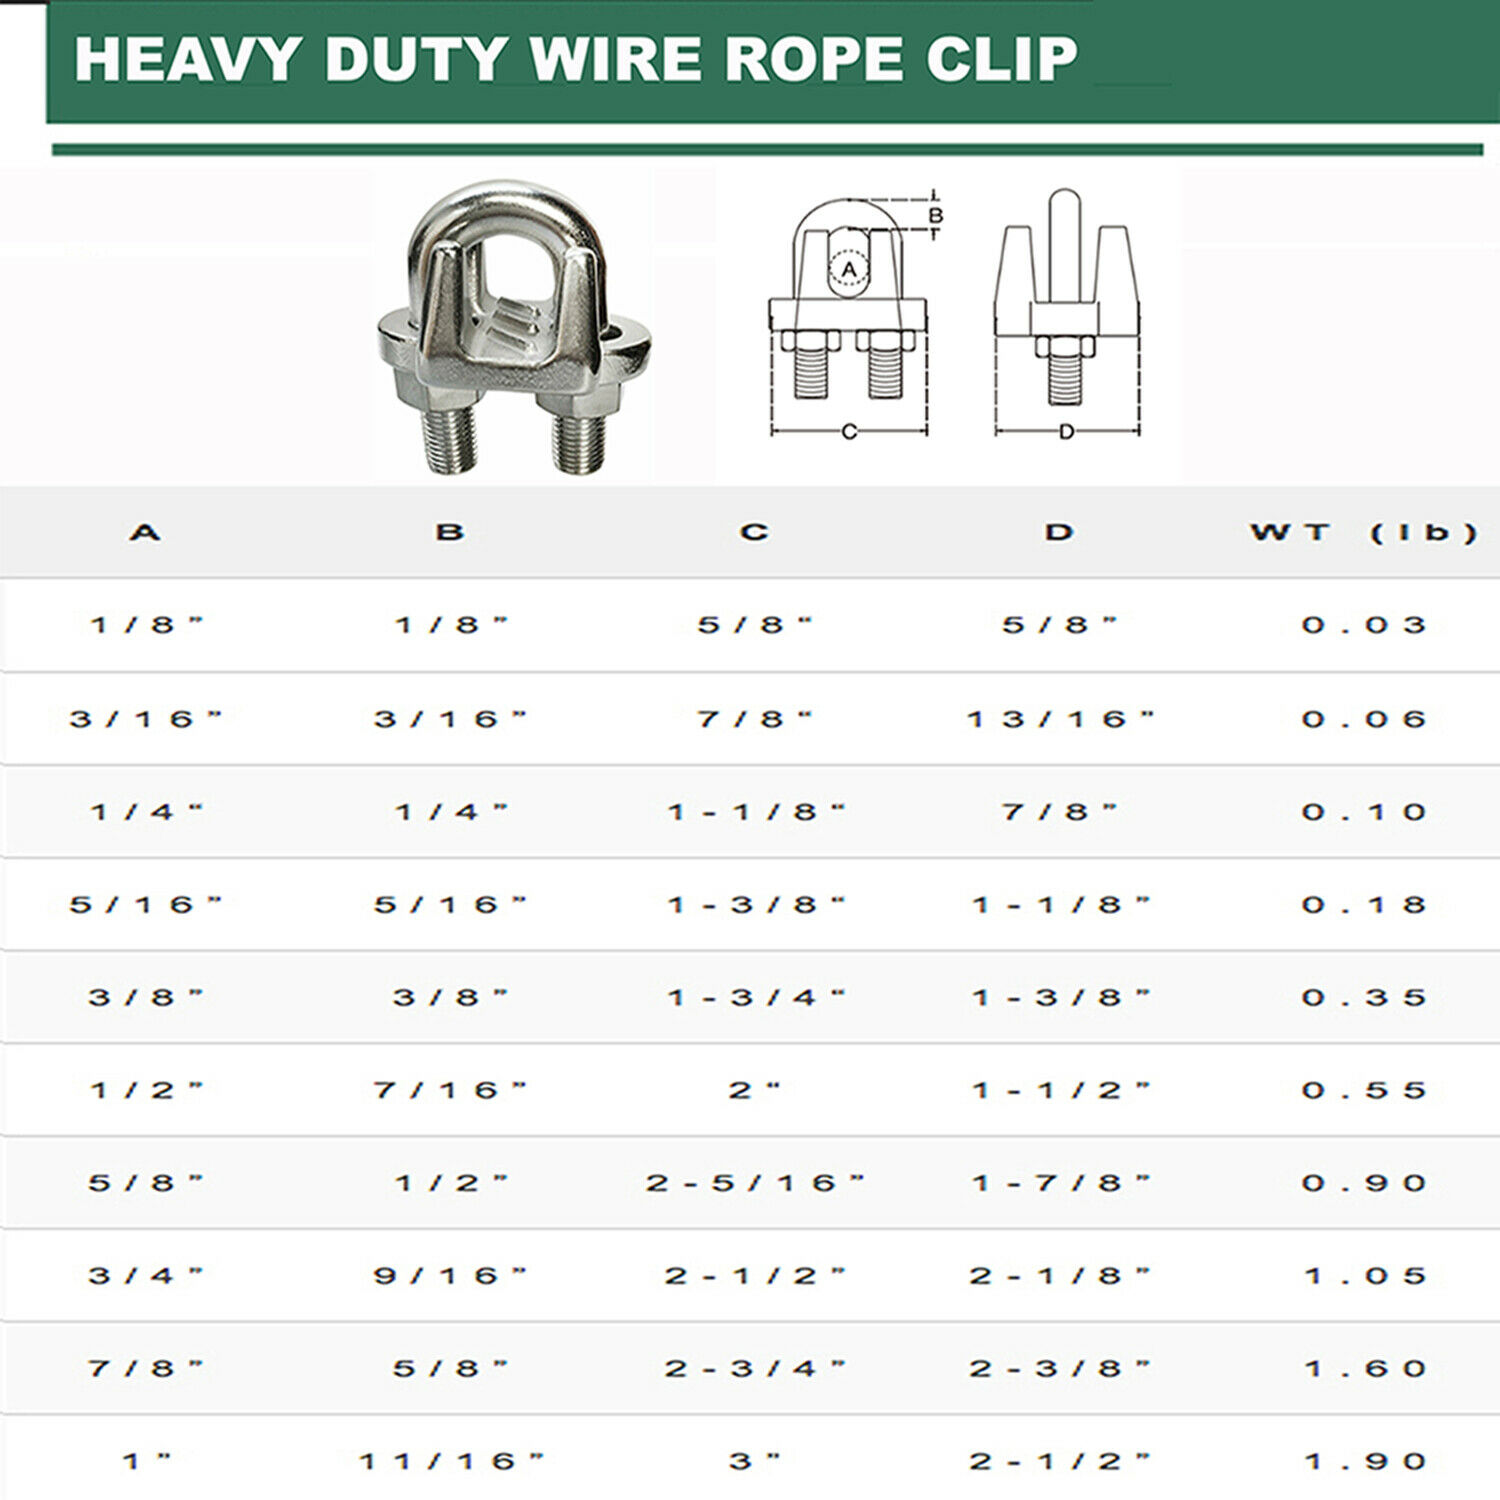
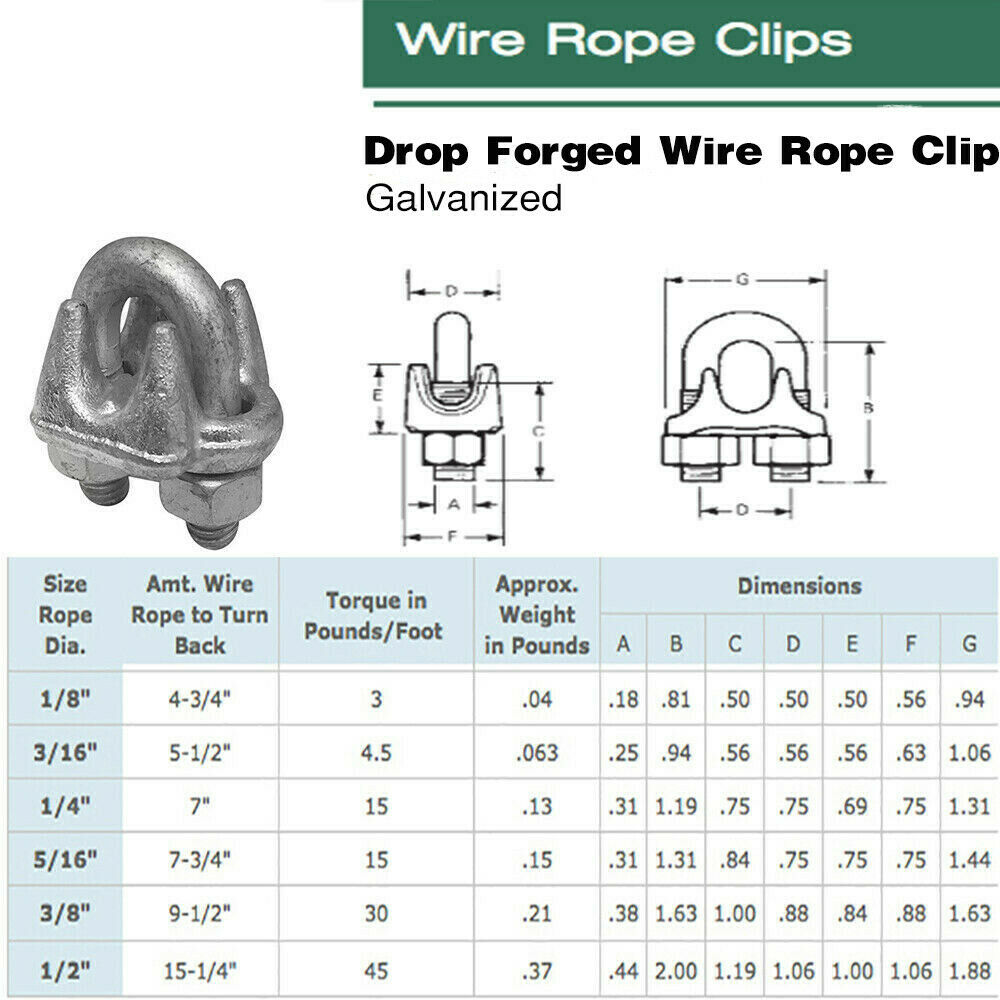
- Size Guide
Description
We Will Send You 1 Each 5/8 Galvanized Wire Cable ClampStep 1.
Refer to Table 1 (below left) in following these instructions. Turn back specified amount of rope from thimble or loop. Apply first clip one base width from dead end of rope. Apply U-Bolt over dead end of wire rope – live end rests in saddle (Never saddle a dead horse!) Tighten nuts evenly, alternate from one nut to the other until reaching the recommended torque.
Step 2.
When two clips are required, apply the second clip as near the loop or thimble as possible. Tighten nuts evenly, alternating until reaching the recommended torque. When more than two clips are required, apply the second clip as near the loop or thimble as possible, turn nuts on second clip firmly, but do not tighten. Proceed to Step 3.
Step 3.
When three or more clips are required, space additional clips equally between first two - take up rope slack - tighten nuts on each U-Bolt evenly, alternating from one nut to the other until reaching recommended torque.
Figure 4
. If a pulley (Sheave) is used, in place of a thimble add one additional clip. Clip spacing should be as shown.
Wire Rope Splicing Procedures:
Figure 5.
The preferred method of splicing two wire ropes together is to use interlocking turnback eyes with himbles, using the recommended number of clips on each eye (See Figure 1).
Figure 6.
An alternate method is to use twice the number of clips as used for a turnback termination. The rope ends are placed parallel to each other, overlapping by twice the turnback amount shown in the application instructions. The minimum number of clips should be installed on each dead end (See
Figure 2). Spacing, installation torque, and other instructions still apply
gsNQSJNx4xc?rel=0


